

Some of you may remember from my Banana-Nut Bread Cake post, that Hubby brought us home a beautiful flat of Strawberries, not too long ago.
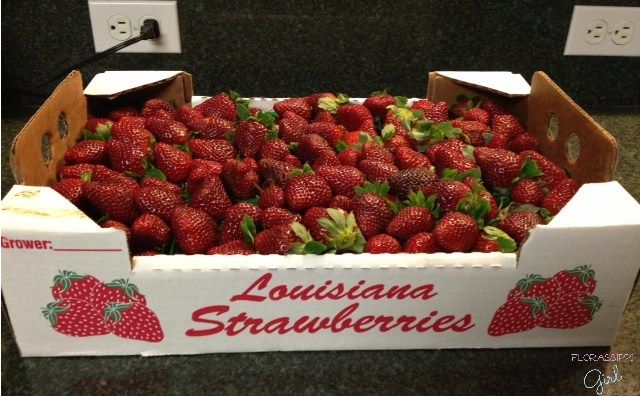
See, I told you they were pretty! So ripe & juicy. Unfortunately, a little too ripe to enjoy them naturally, for very long.
So what do you do? Make Homemade Strawberry Preserves!
Now, I don't like my preserves to be too firm - the kind you have to fight to smear around properly. No, I like my preserves to be more of an 'applesauce' type of consistency. It's easy to spread, but still with the bits of fruit. That is the texture that you will get by following this method.
With just 3 easy Ingredients, and a little effort, you can have your own, yummy homemade preserves too. Here's what you'll need...
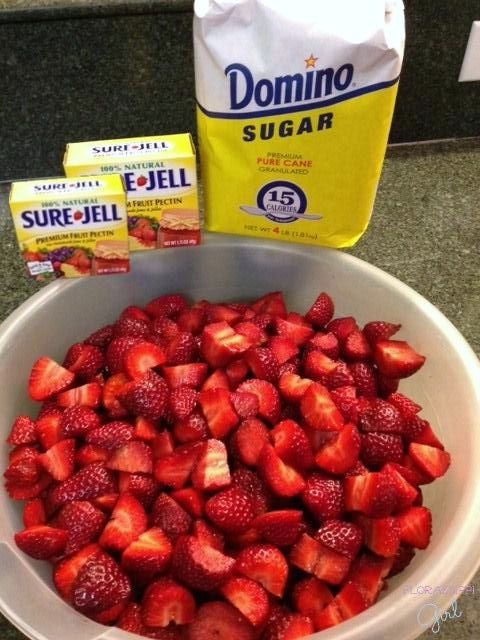
I had between 7 and 8 pints of strawberries, so I used an entire 4 pound bag of granulated sugar (Do not use a sugar substitute.), and two boxes of fruit pectin (like Sure Jell).
Printable Recipe
The first thing you do, is prepare the strawberries by removing the stems, and cutting them up into small pieces (see photo), making sure to trim off and discard any bad spots. Place the prepared strawberries in a large bowl. Then, dump the whole bag of sugar on top. Shake it down, so that the sugar gets down into all of those little nooks and crannies. Put a lid on it, and let it sit for at least 24 hours, in the fridge, to get all of those happy juices mingling. You'll want the sugar to be mostly dissolved and a syrup to have formed in the bottom of the bowl.
Make sure you have enough jars, lids, and rings washed, sterilized, and ready to go before you start cooking. Once it gets going, you will need to work very fast in order to keep up!
Now, you're ready to start cooking. First things first, fill your canner 1/2 to 3/4 of the way with water, and get it started heating up. Then, start your lids and rings in a small pot of water, set to a gentle boil. Once it begins to boil, turn down the heat and let the rings and bands simmer in the hot water until you're ready to use them. Pour your strawberry and sugar mixture into a VERY LARGE pot. Make sure you have a lot of empty space at the top. Next, stir in your fruit pectin. Using an emulsion blender, chop the mixture until the strawberries are the consistency that you like. I like mine to still have bits of fruit in it.
Before you turn on any heat to your strawberries, grab a large bowl (The one that you had the strawberries and sugar in before, works well for this.) and a large spoon. Also, line up your jars close to your pot, and have a canning funnel in the first one that you plan to fill. Now, take a deep breath and get ready to go.
Stirring constantly, bring the mixture to a full boil. Once the mixture looks like it is 'growing', get ready to spoon out the foam and discard it into the large bowl. You'll have to work very quickly to keep up! After 1 minute, turn off the heat. Keep skimming off the foam until it is all gone. Then, ladle your hot strawberry mixture into the jars, up to the neck. Wipe the rims clean, and secure a hot lid and ring to each jar. Be careful not to burn yourself. Place the jars on the canning rack and lower them into your simmering canner. Make sure the water covers the jars by at least an inch. Bring the canner to a boil and process for 10 minutes.
Remove the jars from the canner, and place upright on a towel to cool. Do not disturb the jars. You will begin to hear 'pops' as the jars seal. After the jars have cooled completely, check the seals of each jar by pressing you finger down in the center of the lid. If it springs back up, it did not seal correctly. You will need to refrigerate it, and use it first. The ones that did seal properly can be stored in your pantry or cupboard.
This recipe will make 10-12 jelly size jars.
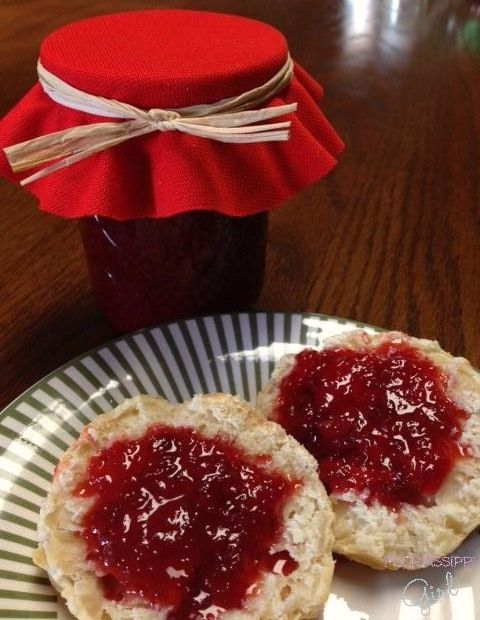
These also make cute little homemade gifts!
Just add a swatch of fabric, and tie it off with a bow...
Adorable & Yummy!
Enjoy!
Thanks for coming by to visit my FB page! I'll add myself to your followers :)
ReplyDeleteYour strawberry jam looks delicious - it will be another month or so before our strawberry patch is ready.
Nice to meet you!
Thank you for dropping by, as well. :o)
DeleteI just wanted to stop by and thank you again for the preserves :) It'll probably go on my morning toast! And now I have the recipe too! You and your daughter were too kind - thank you again ♥
ReplyDeleteYou are more than welcome! Thank you for all of your help lately! :o)
DeleteThis sounds delicious. I've never tried making my own preserves before, but I like that same consistency, so this sounds like the perfect recipe to try!
ReplyDeleteLet me know how they turn out! I know you'll enjoy them! :o)
DeleteAwesome blog. And this looks so good. :)
ReplyDeleteThank you, so much! :o)
DeleteThe recipe seems simple enough for me not to mess it up! Thank you for sharing at our All My Bloggy Friends Party !
ReplyDeleteLinda
With A Blast
You're welcome.
Delete